.png)
Struggling with how is freight class determined? This guide breaks down density, handling, and NMFC codes to help you lower costs and avoid surprise fees.

Figuring out freight class can feel a bit like solving a puzzle, but it all comes down to one core idea: transportability. This is the standardized system the shipping industry uses to figure out how easy—or difficult—it is to move your stuff. Nail this, and you’ll get accurate quotes and dodge those dreaded surprise fees.
Have you ever scratched your head wondering why a heavy pallet of bricks costs less to ship than a light-as-a-feather pallet of pillows, even though they take up the same floor space? That’s freight class in action.
Think of it like an airline's seating chart. Just as there are different classes for passengers, there are different classes for cargo. It’s a standardized pricing method carriers use to quote shipments fairly, based on the specific characteristics of what’s being shipped.
Getting a handle on this system is your first real step toward taking control of your shipping budget. The class assigned to your freight directly sets the price you pay, so getting it wrong can hurt. If a carrier has to re-weigh and re-classify your shipment, you could be looking at a much bigger bill than you planned for.
The whole system is managed by the National Motor Freight Traffic Association (NMFTA), which has established 18 distinct classes. These range from Class 50 (the cheapest and easiest to ship) all the way up to Class 500 (the most expensive and complex).
The guiding principle is pretty straightforward: the easier your freight is to ship, the lower its class and the lower your cost. Carriers love dense, sturdy, and stable items because they're efficient to handle and transport.
Whether you're shipping LTL or a full truckload, knowing your freight class is key to an accurate quote.
So, how do carriers decide where your goods fall within these 18 classes? They look at four key transportability factors.
At the heart of every freight class calculation are four characteristics. Carriers analyze these to determine how your shipment will behave on its journey.
These factors become especially critical in LTL shipping, where your freight shares truck space with dozens of other shipments. If you're new to the term, you can learn more by exploring what LTL stands for in shipping.
Now, let's break down each of these four factors so you can see exactly how your freight class is determined.
Figuring out freight class might seem complicated, but it really boils down to answering four simple questions about what you're shipping. Think of these as the four cornerstones that carriers use to size up your freight. They help paint a clear picture of how difficult—and, let's be honest, how expensive—your shipment will be to get from A to B.
The whole system is managed by the National Motor Freight Traffic Association (NMFTA), which uses these factors to assign a class from a range of 18 options, running from a low of 50 to a high of 500. You can get a deeper look into the full system over at onesilq.com.
Let’s break down each factor with some real-world examples you'll instantly get.
If there’s one factor that carries the most weight (pun intended), it's density. This is simply a measure of how much room your shipment hogs on the truck relative to how much it weighs. The rule of thumb is pretty straightforward: the denser your shipment, the lower its freight class—and the happier your wallet will be.
Here's why: carriers want to load their trucks with as much weight as possible, since that’s how they turn a profit. A pallet stacked with heavy steel parts is a perfect example of high density. It doesn't take up much space, but it adds a lot of weight, making it an efficient Class 50 item.
Now, flip that around. A pallet piled high with fluffy pillows or ping-pong balls is a carrier’s headache. It eats up tons of valuable trailer space without adding much weight. That inefficiency means it gets pushed into a much higher (and more expensive) class, like 250 or even 400.
Ready to see how your freight class impacts your shipping costs for LTL or full truckload? Get an instant quote now.
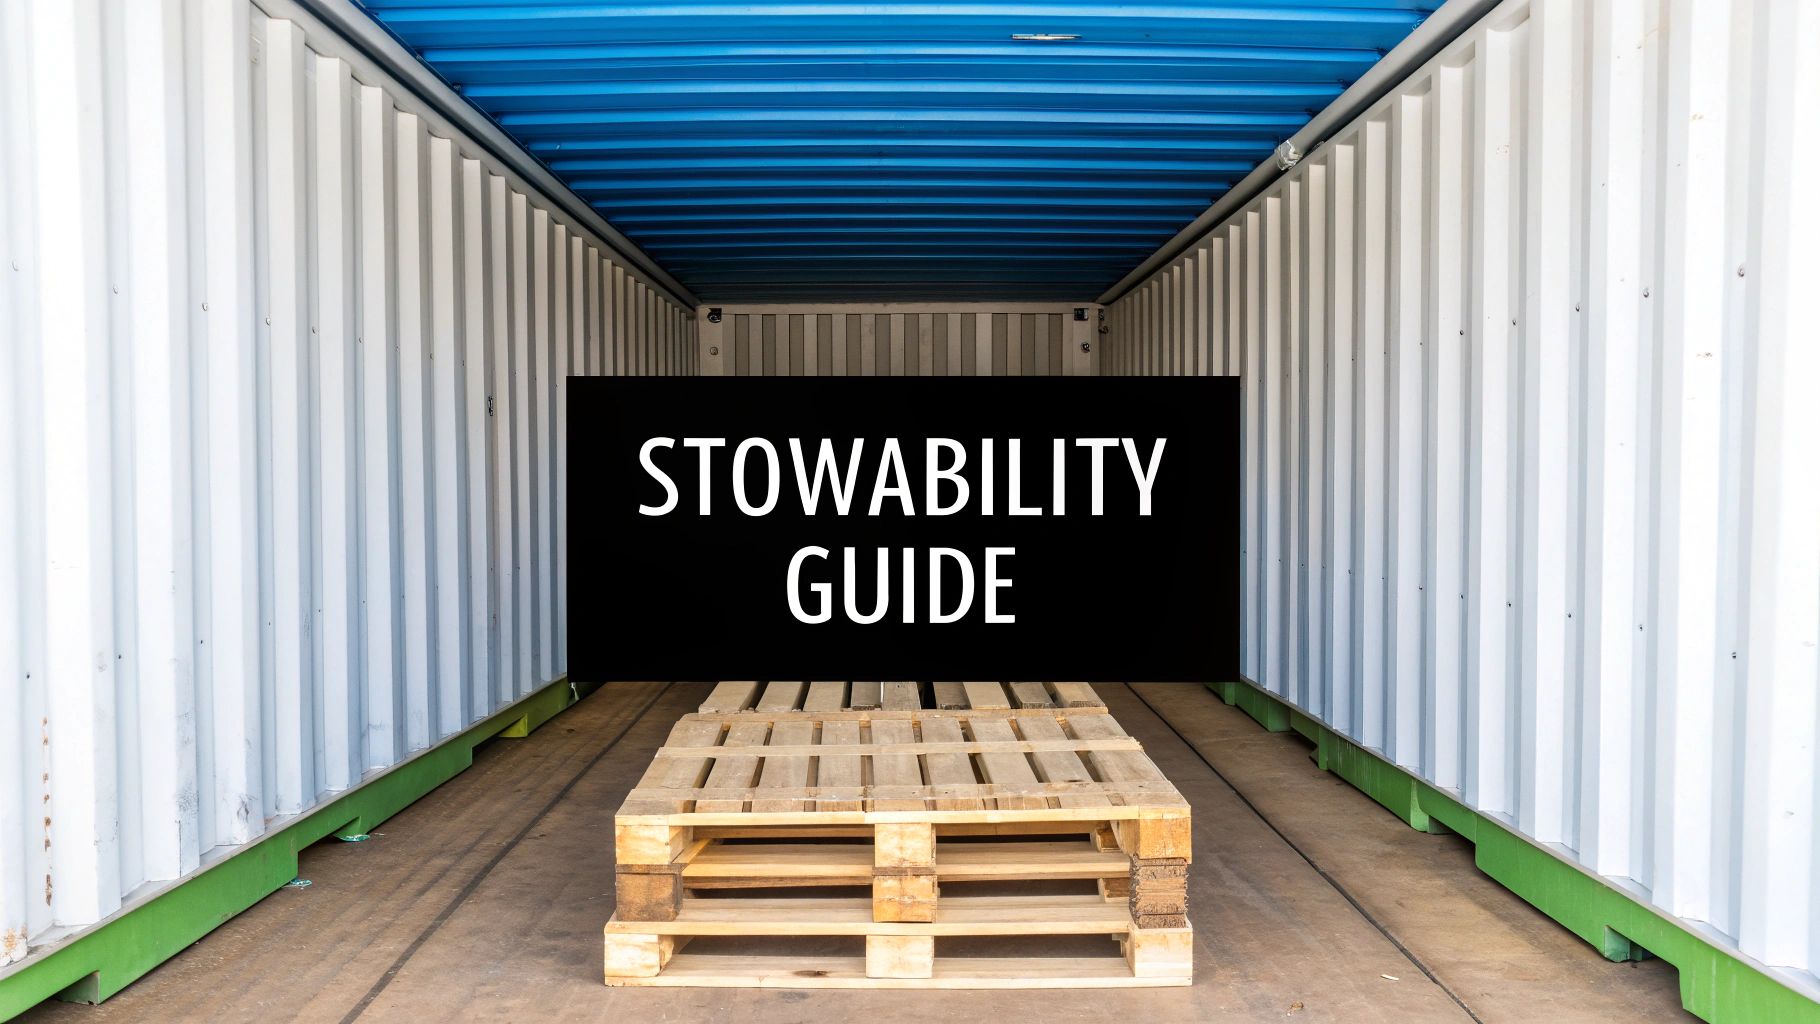
Stowability is all about how nicely your shipment fits with everything else on the truck. Can other freight be stacked on top of it? Does it have a weird shape that creates awkward gaps? Is it a hazardous material that needs to be kept separate?
It’s easy to see the difference in practice:
Anything that's hazardous, awkwardly shaped, or too fragile to be stacked is going to have poor stowability.
Handling refers to how easy—or difficult—it is to get your freight on and off the truck. If moving your shipment requires special equipment, a lot of manual effort, or kid-glove treatment, you can bet its freight class will go up.
A standard pallet that a forklift can easily scoop up is a piece of cake. The process is quick and efficient. But what if your item is incredibly heavy, isn't secured on a pallet, or is extremely delicate? That’s a handling challenge.
For example, a crated sculpture needs to be handled with extreme care to avoid damage. It's a world away from a simple pallet of canned goods. That extra difficulty in handling directly translates to a higher freight class.
Finally, there’s liability. This factor weighs the risk involved in transporting your freight. It considers the potential for your item to be stolen, damaged, or even to cause damage to other shipments around it.
It makes sense when you think about it. High-value items like electronics or pharmaceuticals are a huge liability. If they get damaged or stolen, the financial loss is massive. The same goes for perishable goods that could spoil. These high-risk items naturally fall into higher freight classes.
On the other end of the spectrum, a pallet of scrap metal has almost no liability. It's not a target for thieves and is pretty tough to damage. That low risk puts it in a low—and cheap—freight class like 50.
When it comes to the four big factors that determine freight class, density is the undisputed heavyweight champion. It’s the metric carriers look at first, and getting it right is the single best way to avoid surprise fees on your invoice.
Think of it this way: mastering a little bit of simple math is your best defense against those dreaded and costly reclassification charges. All you need is a tape measure, a scale, and a calculator.
This infographic breaks down the whole process beautifully.
As you can see, it really just boils down to measuring carefully and then doing some simple division to get the number that carriers care about most.
You'll want to follow these five steps for every single pallet or handling unit you ship. Don't be tempted to eyeball it—even tiny mistakes can lead to big adjustments on your final bill.
Measure Your Shipment: Grab your tape measure and get the length, width, and height of your freight in inches. Here's the crucial part: you have to include the pallet and all the packaging in your measurements. A classic rookie mistake is only measuring the boxes on top, which will throw off your entire calculation. If you want to get more familiar with pallet sizes, our guide on standard shipping pallet dimensions is a great resource.
Calculate the Total Volume (Cubic Inches): Now, just multiply those three numbers together (Length x Width x Height). This gives you the total volume in cubic inches.
Convert to Cubic Feet: This is a key conversion. Take that total volume in cubic inches and divide it by 1,728. Why that number? Because there are exactly 1,728 cubic inches in one cubic foot.
Weigh Your Shipment: Get your fully packaged and palletized shipment onto a certified scale. You need the exact weight in pounds. This is not the time for guessing!
Find Your Density: Almost there! Divide the total weight (in pounds) by the total volume (in cubic feet). The number you get is your shipment's density, measured in pounds per cubic foot (PCF).
Let's walk through a real-world scenario. Imagine you have a standard pallet of goods that, once it's all wrapped and ready to go, measures 48 inches long, 40 inches wide, and 50 inches high. You put it on the scale and it clocks in at 600 pounds.
Here's the math:
With a density of 10.8 PCF, this particular shipment would most likely be assigned Class 92.5. To determine your shipment's density with precision, you'll need to measure its volume, which you can do quickly using a cubic metre calculator.
It's a surprising fact, but over 50% of reclassifications in LTL shipping are because of simple density miscalculations. That stat alone shows just how much getting your measurements right matters.
Nailing this calculation every single time is the foundation of smart, cost-effective shipping. If you're ever in doubt, don't guess—double-check your numbers.
So, you've got the four core factors down—especially density. That's a huge step. Now, let's pull back the curtain on another key piece of the puzzle: the National Motor Freight Classification (NMFC) system.
The easiest way to think of the NMFC is as a massive, detailed encyclopedia for everything that can be shipped on a truck. It’s the industry’s universal language.
Every single commodity, from bolts to bulldozers, is assigned a specific NMFC code. This number tells a carrier exactly what they’re dealing with, from how to handle it to how much risk is involved. It creates a standard that everyone in the logistics world can understand and trust.
But here’s where things get interesting. While density is king for many shipments, it's not the only thing that matters. Some items have a permanent, locked-in freight class tied directly to their NMFC code, no matter how much they weigh or how big the box is.
Getting this part right is absolutely critical for accurate freight quotes. Confusing a density-based item for a fixed-class one (or vice-versa) is one of the quickest ways to get hit with a surprise bill.
Density-Based Class: This is what we've been talking about so far. For a lot of common goods, the freight class moves up or down depending on the final packed density you calculate. This is where your scale and tape measure are your most important tools. Think of things like bags of plastic pellets or generic hardware—their PCF is what determines their class.
Fixed Class: For other items, the class is non-negotiable. It's set in stone by the NMFC because their other characteristics—like being extremely fragile, valuable, or awkward to handle—always trump their density.
Knowing when to break out the calculator versus when to simply look up a code is a skill that separates the pros from the rookies. If you’re ever in doubt, it’s always better to ask an expert than to guess.
Don't guess on your freight class. Get an accurate, free LTL or full truckload quote in seconds.
So, when can you put the calculator away? It's usually when an item's fundamental nature makes it a special case. The NMFC has already done the heavy lifting, weighing its stowability, handling needs, and liability risks to assign a permanent class.
Here's a simple way to remember it: density-based items are judged on their current state (how they're packed today), while fixed-class items are judged on their permanent identity (what they are).
A few common examples really make this clear:
For shipments like these, your job isn't to calculate density. It's to find the correct NMFC code for what you're shipping. Getting this right on your Bill of Lading (BOL) from the start is the best way to avoid a carrier reweighing and reclassifying your freight later on, which always comes with a hefty correction fee.
There’s nothing worse for a shipping budget than seeing a surprise reclassification fee on your invoice. You thought you had a solid quote, but now you’re looking at a bill that’s hundreds of dollars higher, all because the carrier caught a discrepancy. Let’s walk through how to make sure the price you’re quoted is the price you pay.

The good news is that these fees are almost always preventable. They usually pop up because of small, avoidable errors made when you’re getting your quote—mistakes that a carrier’s inspection will easily catch. A little extra attention to detail upfront can save you a lot of money and headaches down the road.
Most of the time, the errors that trigger these fees are surprisingly simple. Shippers get into trouble when they take shortcuts, guess at numbers, or just overlook a small detail that ends up having a big impact on the final cost. The trick is to treat every piece of information as if it's the most important part of the puzzle.
Here are the usual suspects behind a reclassification fee:
Dodging these fees really comes down to having a good, disciplined process. For every common mistake, there’s a straightforward fix you can start using today.
Think about this real-world scenario: a shipper guestimated their pallet’s height was 48 inches. But in reality, one box in the middle made the true height 52 inches. That tiny difference was just enough to drop the shipment's density, pushing it from Class 70 to Class 85. The result? A $150 reclassification fee on top of the higher freight rate.
To make sure that doesn't happen to you, build these habits into your shipping routine:
Honestly, taking a few extra minutes to get these details right is the single best way to protect your budget. Think of it as a small investment that pays off big by eliminating those frustrating surprise charges and helping your shipments move without a hitch.
Remember, reclassification fees are just one piece of the puzzle. It's worth understanding the broader implications of shipping compliance violations, as getting the details right helps you avoid much bigger financial and legal risks.
Even after you get the hang of how freight classes work, a few questions always seem to pop up. We get it. Let’s run through some of the most common ones we hear from shippers every day.
This is a big one, and the answer hits you right in the wallet. If you put the wrong freight class on your Bill of Lading (BOL), the carrier's inspector will almost definitely spot it at the terminal.
When that happens, they’ll do two things. First, they’ll reclassify your shipment to the correct (and usually higher) class. Second, they'll hit you with a reclassification fee on top of the new, more expensive freight rate. These unexpected charges can turn a profitable shipment into a loss in a hurry and can even slow down your transit time.
Yes, without a doubt. A lower class number always means a lower shipping rate. That’s the core principle of the whole system.
Carriers want to move freight efficiently. The less space your shipment takes up and the less risk it poses, the lower your class and the better your price will be.
Confused about your shipment's class? Let our experts handle it for you. Get an instant, accurate freight quote for your LTL or full truckload shipment now.
Packaging is a huge factor, especially when your class is based on density. The final measurements and weight of your fully packaged shipment are what matter. If you use a box that’s too big or go overboard with packing materials, you’re adding volume without adding much weight.
This torpedoes your density, which can easily bump your freight into a higher, pricier class. One of the best ways to control your shipping costs is to use smart, compact packaging that fits your product snugly.
The key takeaway is simple: you are paying to ship every inch of space your package occupies. Minimizing wasted space directly translates to lower freight costs.
For items that have a permanent, non-density-based class, you need the right National Motor Freight Classification (NMFC) code. The official source is the NMFC directory, which is published by the National Motor Freight Traffic Association (NMFTA), but it requires a paid subscription.
A much easier route is to just work with a freight partner who knows the ropes. Here at FreightQuotesNow, we have the tools and experience to pinpoint the exact code for your items, making sure you get it right from the very beginning.